Curls have an enduring appeal in the world of hairstyling. Whether you’re aiming for soft waves or tight ringlets, curl the hair can add volume, texture, and flair to your look. While achieving the perfect curls may seem daunting at first, with the right tools, techniques, and a bit of practice, you can become a pro at curling your hair in no time. In this comprehensive guide, we’ll walk you through the steps to help you master the art of curling your hair effortlessly.
Step 1: Gather Your Tools
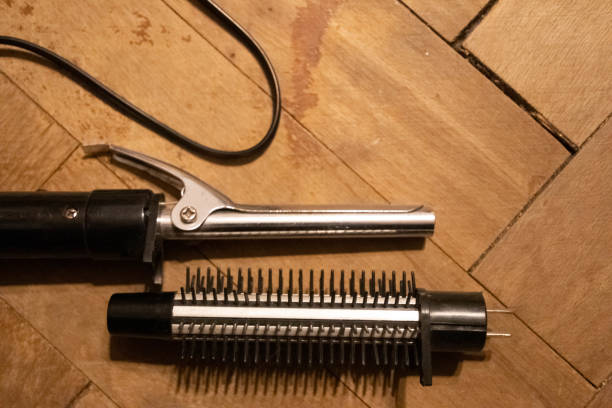
Before you start curling, it’s essential to have the right tools on hand. Here’s what you’ll need:
- Curling iron or wand: Choose a barrel size depending on the type of curls you want—smaller barrels for tighter curls and larger barrels for looser waves.
- Heat protectant spray: Protect your hair from heat damage by applying a heat protectant spray evenly throughout your hair.
- Comb or brush: Use a comb or brush to detangle your hair and ensure smooth, even curls.
- Hair clips or pins: Section your hair to make the curling process more manageable.
- Hairspray: Finish off your curls with a light mist of hairspray to help them hold their shape.
Step 2: Prepare Your Hair
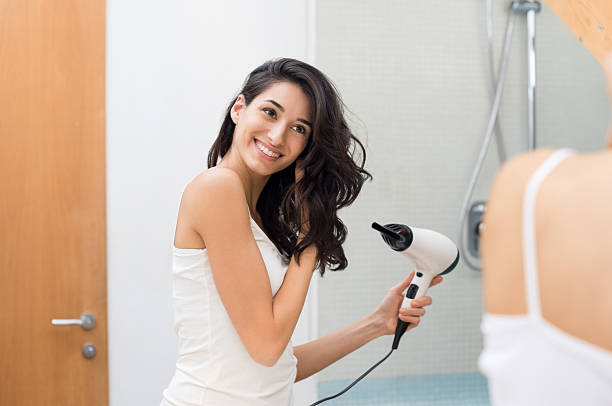
Before curling, make sure your hair is clean and completely dry. If you’re working with freshly washed hair, allow it to air dry or use a blow dryer on a low heat setting. Apply a small amount of heat protectant spray to your hair, focusing on the mid-lengths and ends.
Step 3: Section Your Hair
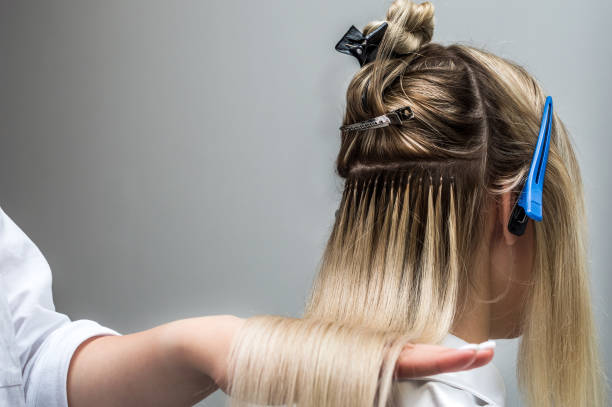
Divide your hair into sections using clips or pins. Start by separating the top half of your hair from the bottom, clipping it out of the way. Then, divide the bottom section into smaller sections, about one to two inches wide, depending on the thickness of your hair. Work on one section at a time, starting from the bottom and gradually working your way up.
Step 4: Curl the Hair
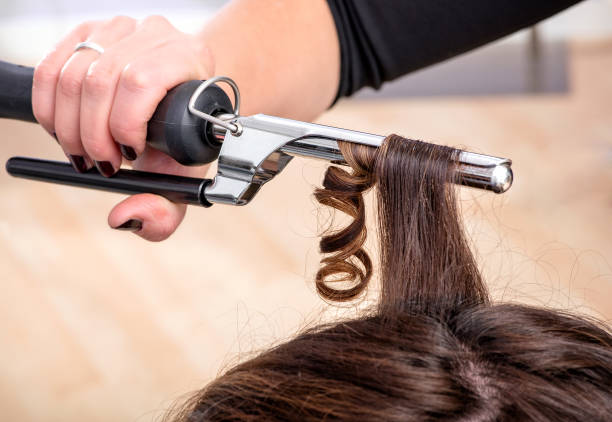
Now it’s time to start curling! Here’s how to do it:
- Take a small section of hair and hold the curling iron or wand vertically.
- Clamp the hair near the roots and wrap it around the barrel, away from your face, leaving the ends out for a more natural look.
- Hold the hair in place for about 5-10 seconds, depending on your hair type and the desired curl intensity.
- Gently release the curl and let it cool for a few seconds before moving on to the next section.
- Repeat the process for each section of hair, alternating the direction of the curls for a more natural and voluminous look.
- If you prefer looser waves, use larger sections of hair and hold the curling iron or wand vertically.
- For tighter curls, use smaller sections of hair and hold the curling iron or wand horizontally.
Step 5: Finishing Touches
Once you’ve curled all of your hair, it’s time to add the finishing touches:
- Run your fingers through your curls to loosen them up and create a more relaxed look.
- If desired, use a wide-tooth comb or brush to gently brush through your curls for a softer, more blended finish.
- Finally, set your curls in place with a light mist of hairspray, focusing on any areas that need extra hold.
Conclusion:
With the right tools and techniques, curling your hair can be a fun and rewarding experience. Whether you’re going for glamorous curls or casual waves, following these step-by-step instructions will help you achieve the perfect curls every time. So grab your curling iron and get ready to unleash your inner hairstylist!
FAQ:
Q. How do I choose the right curling iron size for my hair?
A. The size of the curling iron barrel determines the size and type of curls you’ll achieve. Smaller barrels (around 0.75 inches) create tighter curls, while larger barrels (1.5 inches or more) produce loose waves. Choose a barrel size based on the desired outcome and the length of your hair.
Q. How can I prevent heat damage while curling my hair?
A. To prevent heat damage, always use a heat protectant spray before curling your hair. Additionally, avoid using the highest heat setting on your curling iron and limit the amount of time you expose your hair to heat. If possible, opt for ceramic or tourmaline curling irons, which distribute heat more evenly and reduce the risk of damage.
Q. How long should I hold each section of hair on the curling iron?
A. The duration you hold each section of hair on the curling iron depends on various factors, including your hair type, the thickness of your hair, and the desired curl intensity. As a general rule, hold each section for about 5-10 seconds. Experiment with different timings to find what works best for your hair.
Q. What’s the difference between a curling iron and a curling wand?
A. A curling iron has a clamp that holds the hair in place while it wraps around the barrel, making it easier to create consistent curls. On the other hand, a curling wand does not have a clamp, allowing for more flexibility in creating different types of curls, including beach waves and spiral curls.
Q. How can I make my curls last longer?
A. To make your curls last longer, start with completely dry hair and use a high-quality hairspray to set the curls in place. Avoid touching your curls too much throughout the day, as this can cause them to lose their shape. Additionally, consider using a heat styling product or curl-enhancing mousse before curling to help the curls hold better.
Q. Can I curl my hair if it’s already curled or has product in it?
A. It’s generally best to start with clean, dry hair when curling to ensure the curls hold well and look their best. If your hair already has product in it or has been previously curled, consider washing and drying it before curling again for optimal results.
Q. How can I achieve natural-looking curls?
A. To achieve natural-looking curls, vary the size and direction of your curls throughout your hair. Alternate between curling sections towards your face and away from your face to create dimension and movement. Additionally, avoid curling all the way to the roots and leave the ends of your hair out for a more relaxed look.
Q. What should I do if my curls are too tight or too loose?
A. If your curls are too tight, try using larger sections of hair and holding the curling iron further away from your scalp. For looser curls, use smaller sections of hair and hold the curling iron closer to your scalp. Experiment with different techniques and adjust the heat settings as needed until you achieve your desired curl style.